Free tool · no signup
Milk Frothing Guide
Good milk has two phases: stretch (adding air — a few seconds, paper-tearing sound) and swirl (mixing it in — the vortex that makes it glossy). Pick your drink below for its exact texture target, then work the steps with the timers.
Pick your drink
Latte
The two phases
1 · Stretch — add the air (first 3–5 seconds)
Start with the steam wand tip just kissing the surface, slightly off-center. You should hear a gentle paper-tearing sound — tsst-tsst-tsst. Lower the pitcher a touch to let in more air for foamier drinks, keep the tip buried for silkier ones. This is the only part where air goes in.
2 · Swirl — mix it in (until target temp)
Sink the wand deeper so the tip sits just under the surface and the milk spins into a whirlpool. This folds the air you added into the milk, breaking big bubbles and making it glossy — like wet paint. Keep the vortex going until you hit temperature, then stop the steam before you remove the wand.
3 · Polish and pour
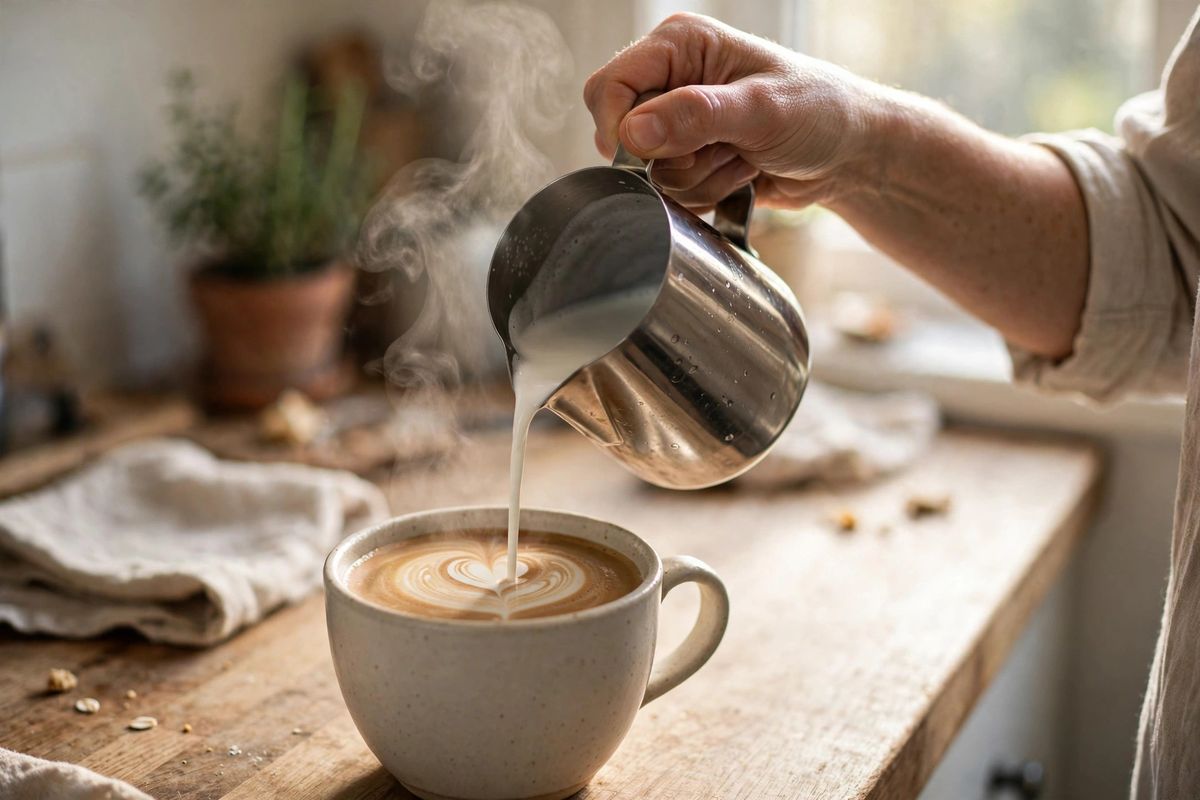
Tap the pitcher firmly on the counter once or twice to pop any surface bubbles, then swirl it in a circle until the surface shines. Pour from low and steady — closer to the cup for latte art, higher for more foam. If the milk sat for more than a minute, give it a quick re-swirl; it separates fast.
What went wrong
🫧 Big bubbly foam (bubble bath)
You stretched too long or kept the tip at the surface the whole time — the air never got mixed in.
Fix: shorter stretch (2–3s), then a strong vortex. Swirl the pitcher hard after.
📢 Screeching the whole time
Tip buried too deep. The steam is fighting the milk instead of aerating it.
Fix: raise the pitcher until you hear the paper-tear sound.
🧈 Tastes flat / no sweetness
Milk went past 160°F. Scalded milk tastes cooked and dull, and it won't foam well.
Fix: stop at "too warm to hold comfortably." A cheap clip thermometer (~$8) removes the guessing.
🥛 Thin milk, no body
Barely any stretch phase — you heated it without adding air.
Fix: give it 3–5 seconds of paper-tear aeration at the start before sinking the wand.
🌊 Milk separates in the cup
It sat too long after steaming, or it never got the vortex mix.
Fix: tap, swirl, pour immediately. Re-swirl if it waited more than a minute.
💧 Watery first sip
You didn't purge the steam wand before starting — condensation went straight into the milk.
Fix: blast the wand for 2 seconds into a towel or drip tray before every pitcher.
Milk frothing FAQ
What milk works best for beginners?
Whole milk, full stop. The fat carries sweetness and makes forgiving, stable foam. Oat milk is the best non-dairy option — look for a "barista edition," which has added stabilizers that foam more like dairy. Skim makes stiff dry foam and scalds faster.
How much milk do I put in the pitcher?
Fill to just below where the spout starts — roughly a third to half full. Milk roughly doubles in volume for a cappuccino, grows ~30% for a latte. Too full and it overflows; too little and the wand can't get under the surface.
Do I really need a thermometer?
Not forever, but yes at first. The hand test works once you've calibrated it against a thermometer a few times. Until then, an $8 clip thermometer keeps you out of the scald zone while your palm learns what 145°F feels like.
Can I froth milk without a steam wand?
You can get close: a French press (pump the plunger 20–30 times) or a handheld battery frother both make decent foam for lattes. They won't make true microfoam — the bubbles are bigger and separate faster — but they'll beat plain hot milk.
Pair this with the milk drink builder for the recipe ratios, and the shot timer so your espresso is ready when the milk is.
The paid shortcut — totally optional
Want the whole process explained with pictures?
This tool is free, and it always will be. If you'd also like the full walkthrough — your first shot from start to finish, a flowchart for when shots taste off, milk basics, and a cheat sheet for the fridge — that's the 15-page Quick-Start Guide. It's $6, it downloads instantly, and there's nothing else to buy afterward.